Vegetation Overlays
As said the OSM addon produces separate objects (planes) for grass a.s.o. areas, and "shrinkwraps" them onto the terrain.
Generally speaking I like the idea. The terrain object itself stays "undamaged", keeping its clean topology (which is a simple grid structure - couldn't be better). And for creating e.g. a forest by the use of some particle system it seems to be a good idea to have unique objects.
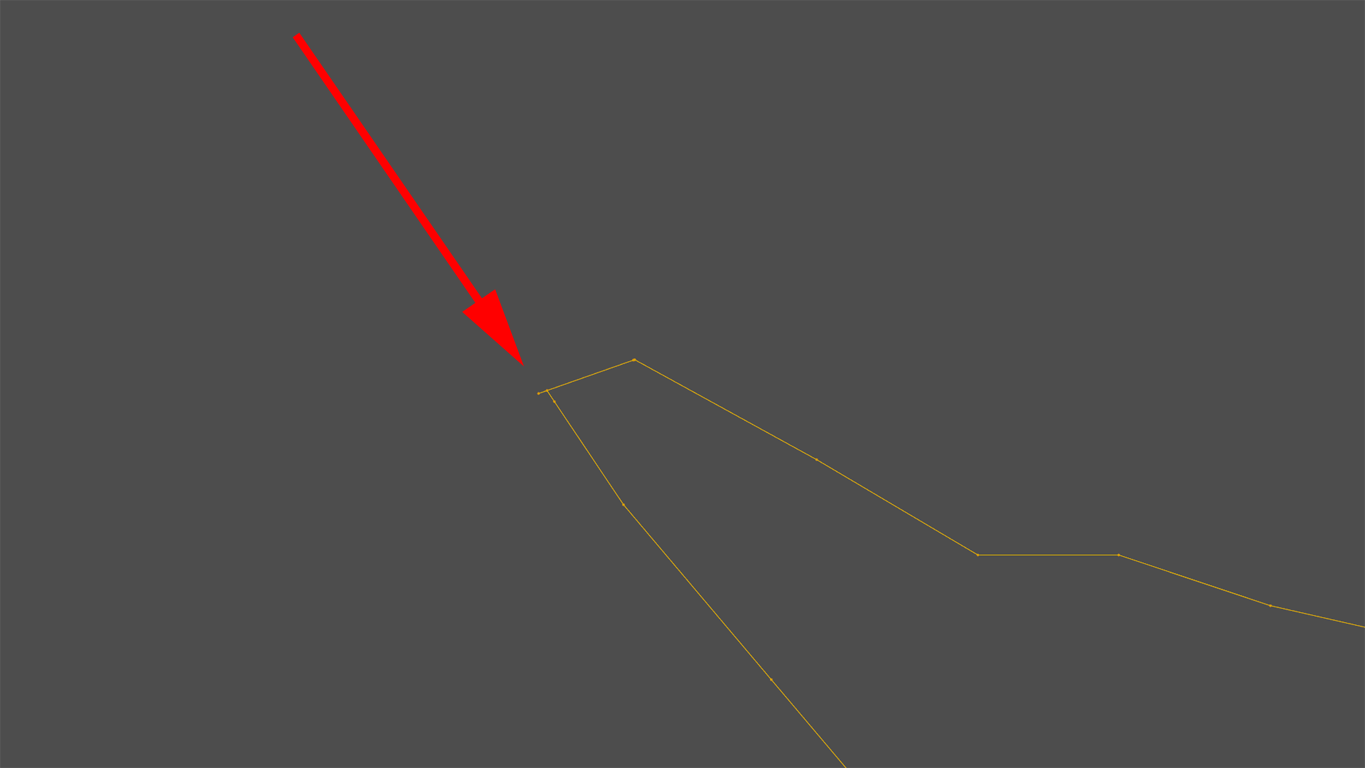
Shrinkwrap modifier is used in projection mode by default, having Offset = 0.1 resp. 10 cm, which of course is a lot. Anyway in some cases it might even not be enough:
I'm not sure - the reason might be my terrain being modified (smoothed) additionally... might be a kind of multiple modifiers colliding... but I did some tests downloading some different stuff with the addon, and looking close I had some of those issues as well.
Therefor I tried to find a different solution. Working with a duplicate of my terrain having smooth modifier applied I cut out areas for grass and sand (for this I used an operation called "Intersect (Knife)" which can be found in Edit mode under "Mesh / Faces", but of course Boolean operations would work as well). This gave me a mesh containing multiple grass areas, having each vertex at the correct Z position by at the same time following the terrain's grid structure perfectly.
Of course this means manual work, so I concentrated on a small area surrouding the Tower, Champs de Mars, Trocadero a.s.o. For the long distanced regions I guess the Shrinkwrap method works fine.
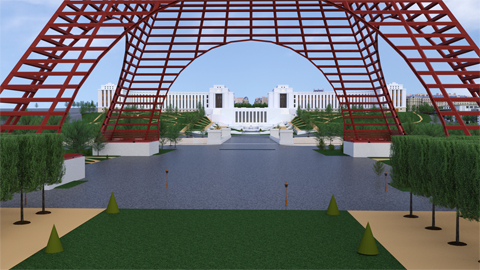
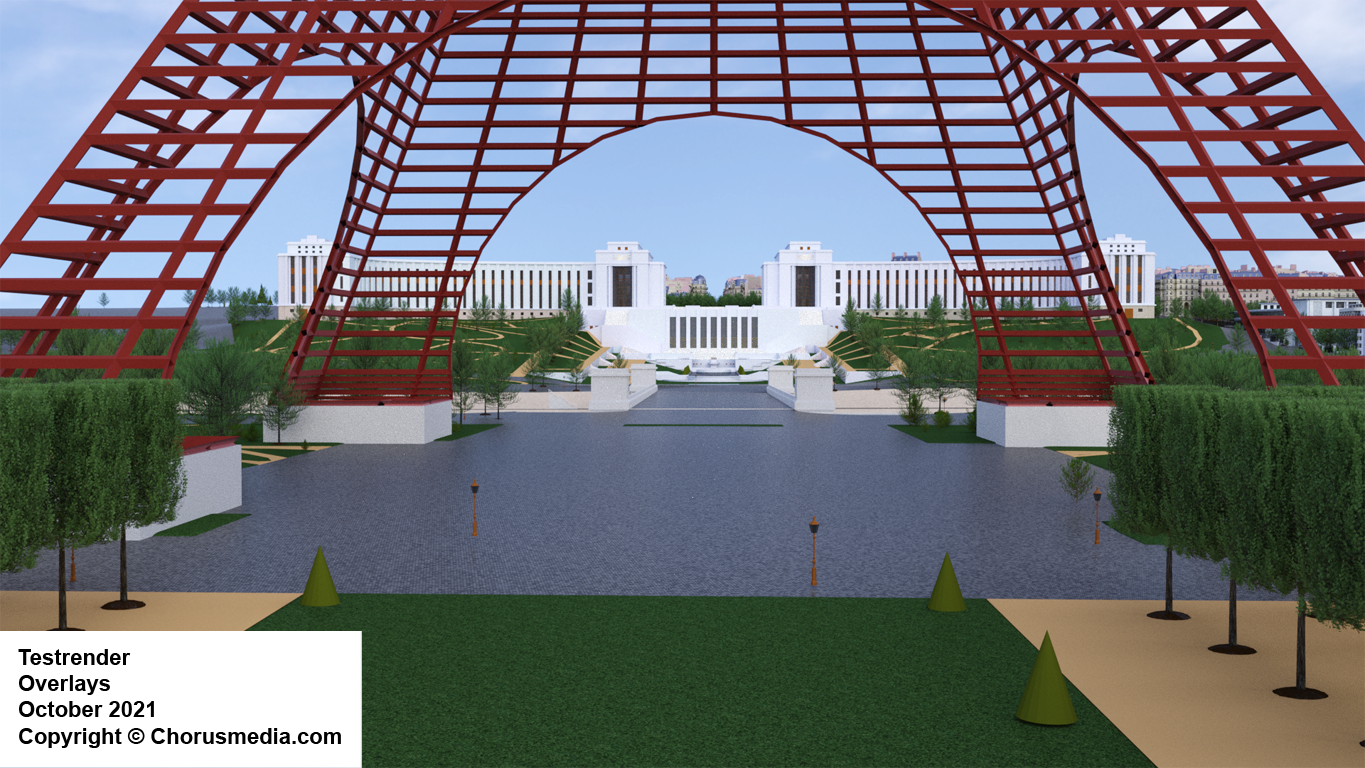
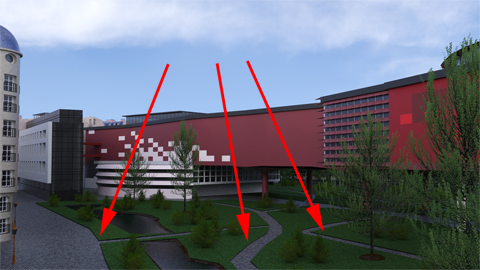
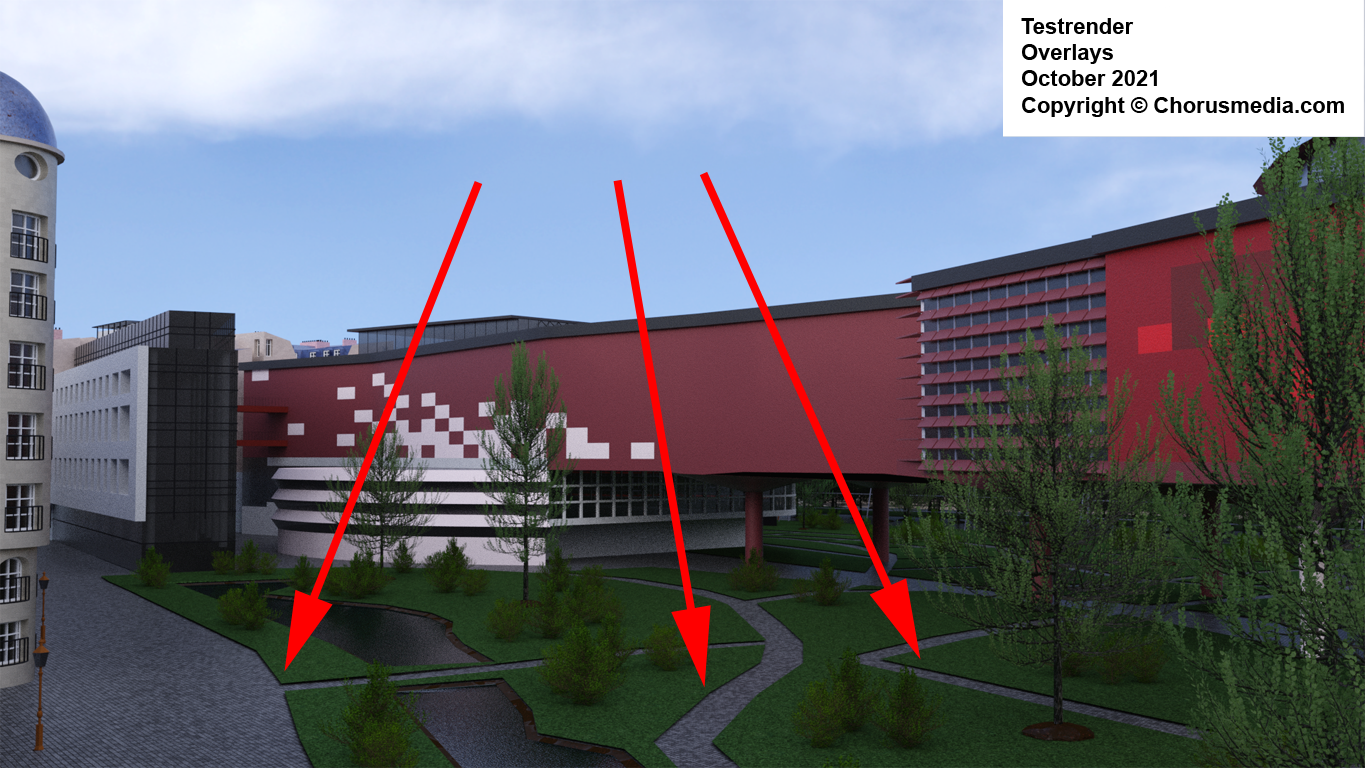
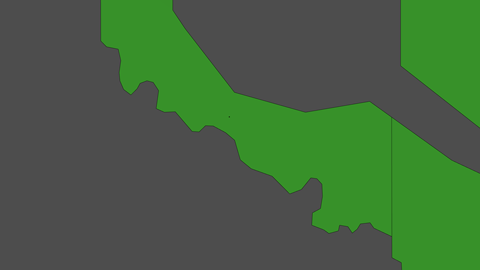
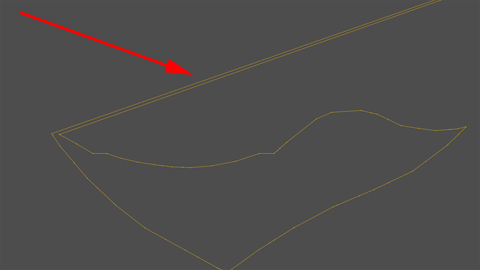
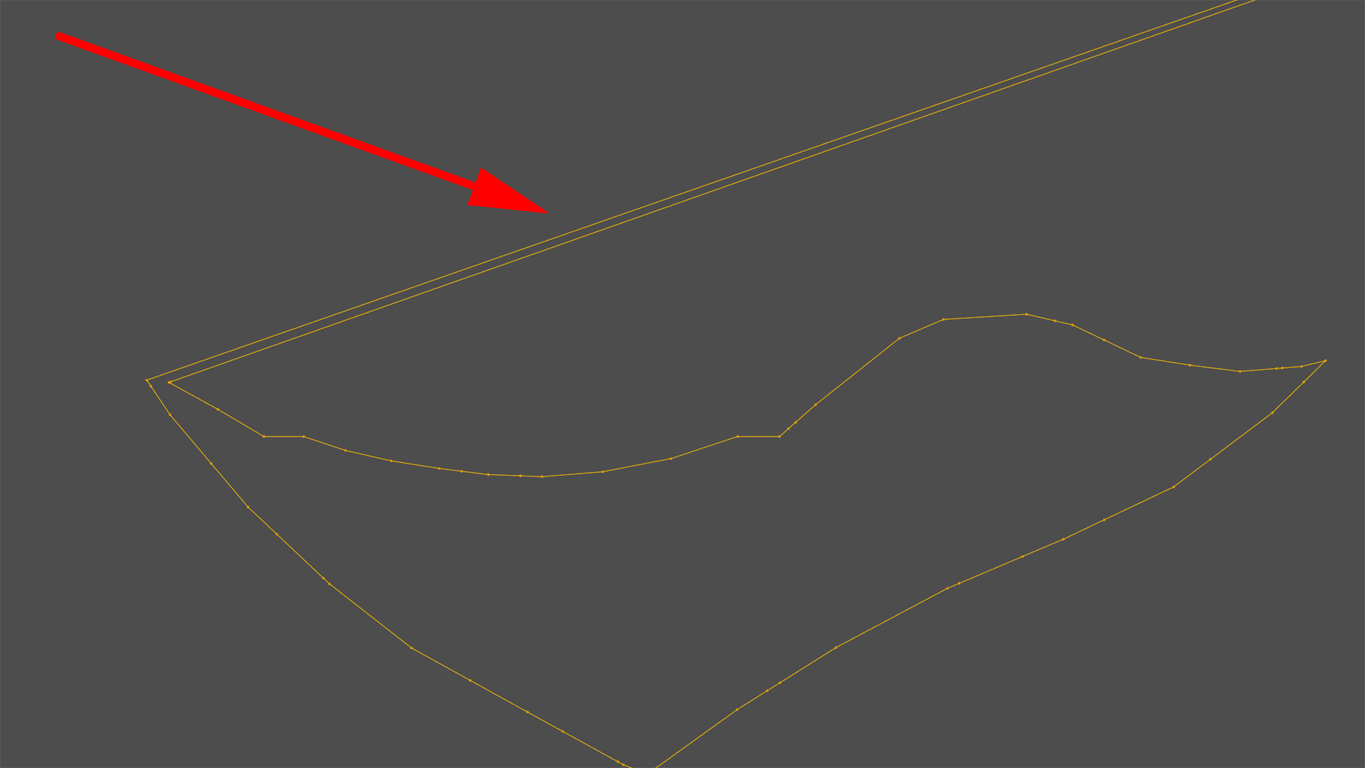
To be absolutely on the safe side I lifted those overlays about 0.01 (1 cm). Have a look:


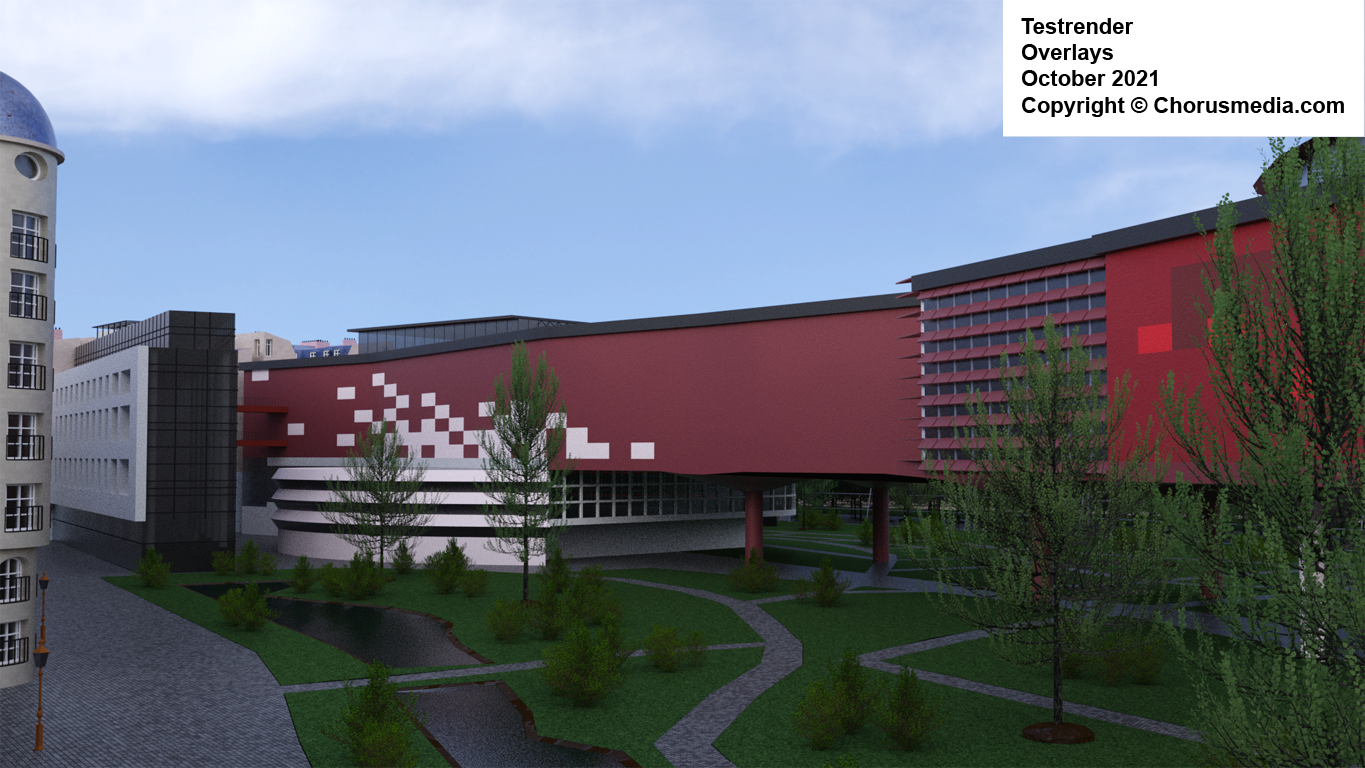
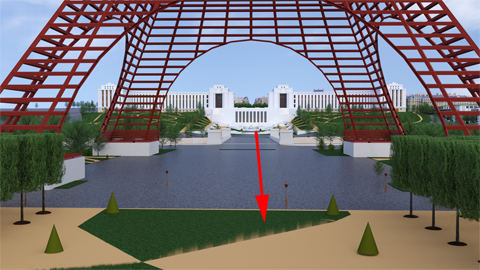
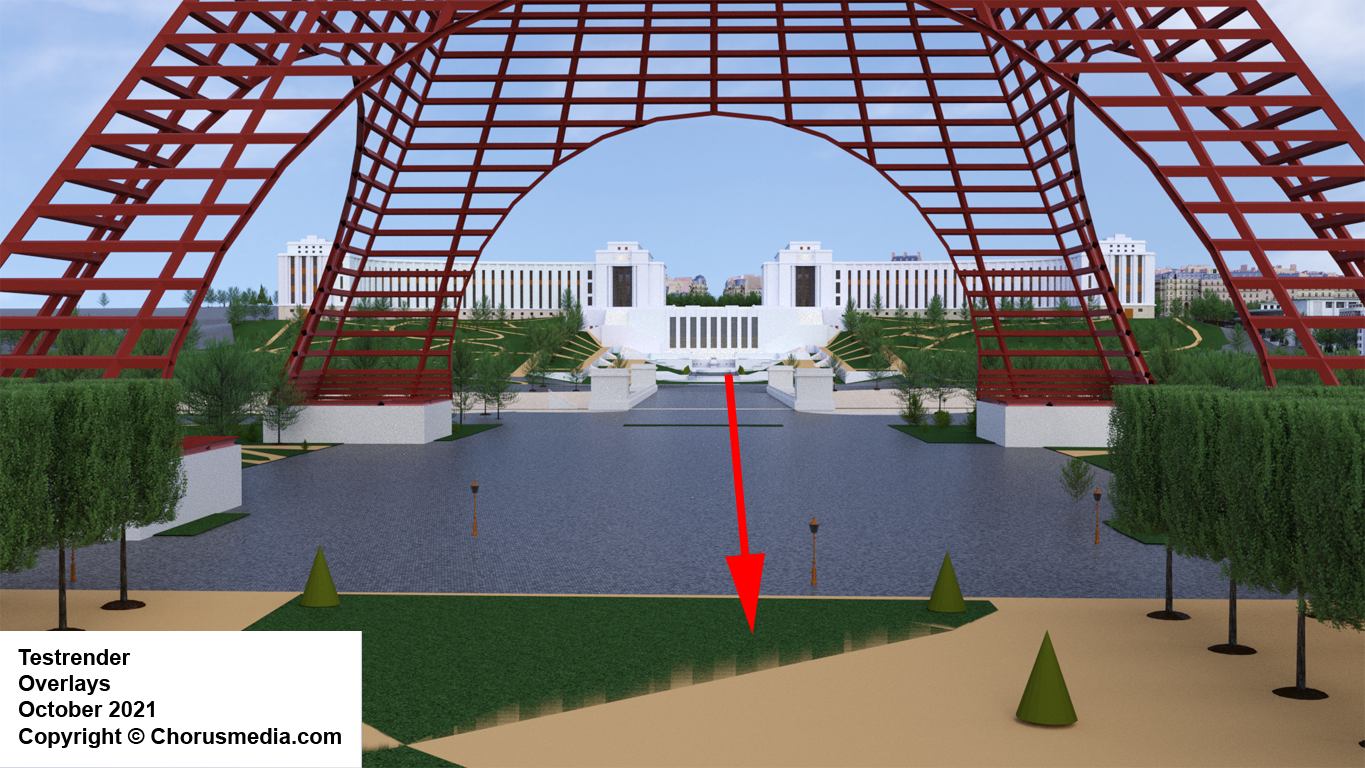
This works for 95% of the overlay elements; I got some smaller issues in those cases the terrain below was too convex.
Anyway I wasn't really happy with the result. Concerning overlays it's as good as can be - but that's the problem. Vegetation areas stay two-dimensional without having any "body". That's not the way things look like in real life - you may get the impression having some grass areas just painted onto the surface.
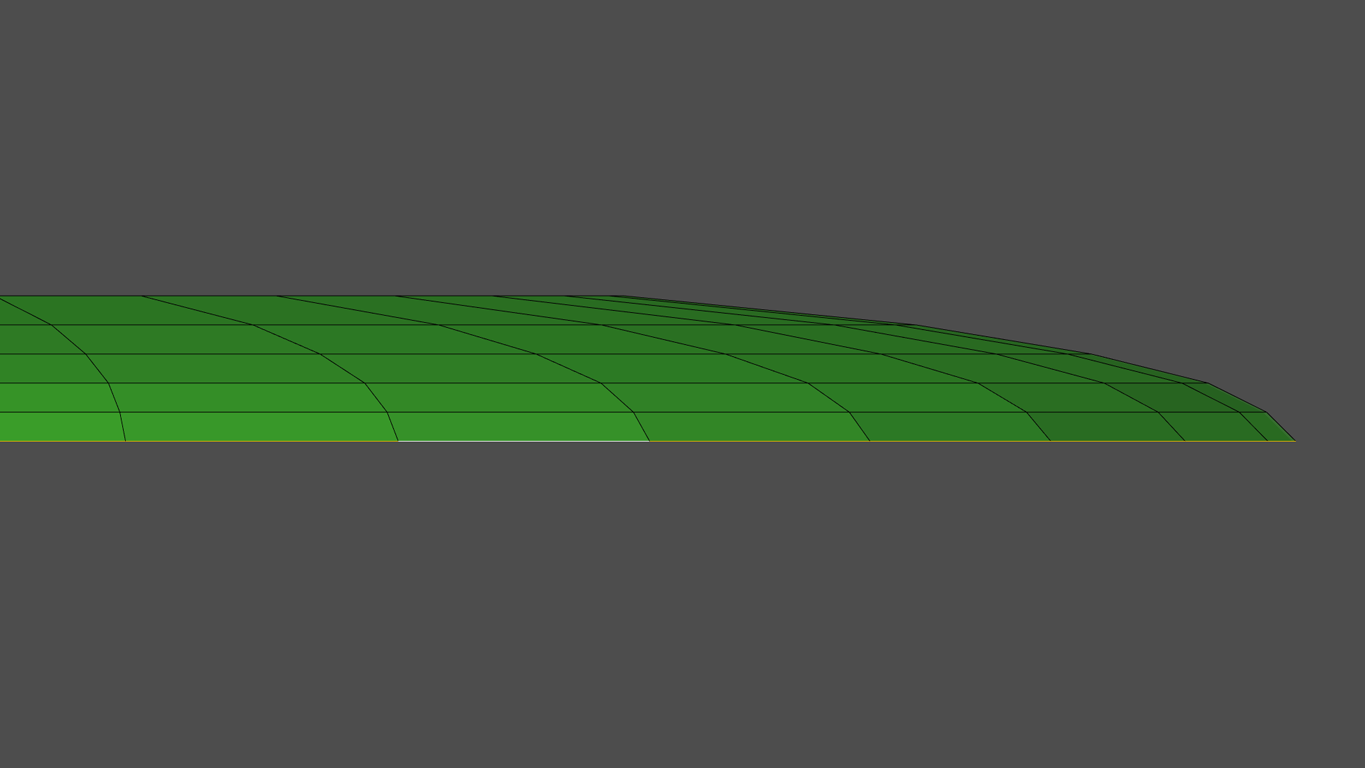
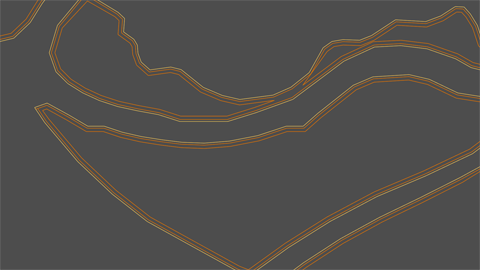
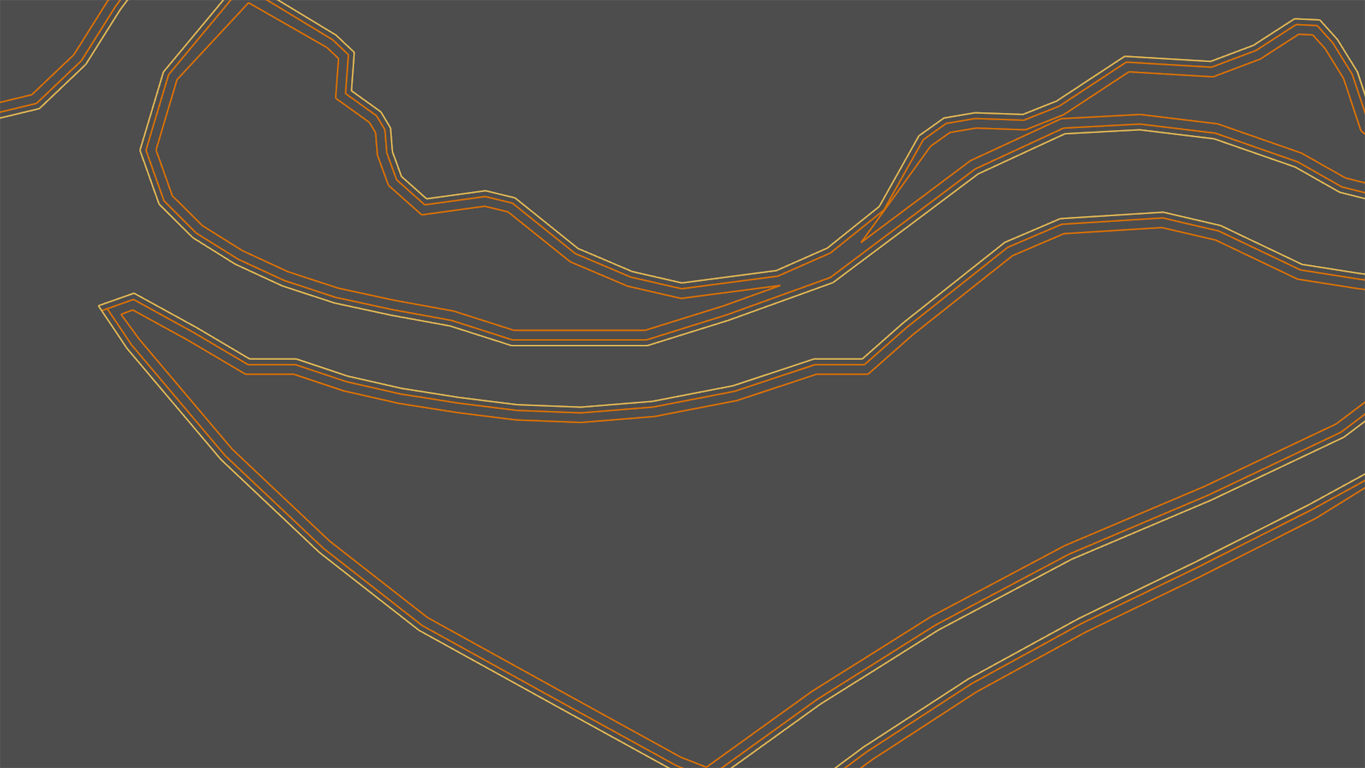
I was thinking about having some smooth inclining profile - just like this:
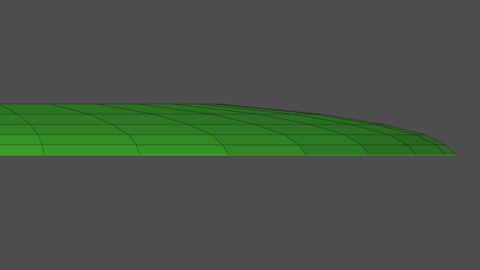
... which could have been achieved by setting some concentrical "rings":


Working with circles this would have been easy, but it's not a solution for those irregular, complex borders we have to deal with.

Anyway I thought that over. The "Inset faces" function would have been fine, but I presumed having some artifacts:
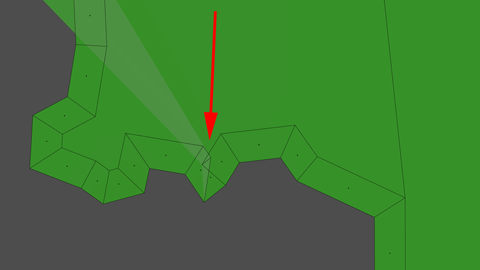

... and I thought locating and fixing them all would have driven me nuts.
Furthermore I planned to define each of the "inner rings" as a vertex group, so I could select and incline them individually if I was funny, and I absolutely wasn't hot on selecting each edge loop manually.
Another idea was giving the overlay faces some substance (Solidify modifier), then use Bevel modifier to smooth the edges. Unfortunately this didn't work as well.
The solution seemed to be intersecting ("cutting") the overlay faces as I did several times before. Started by isolating the outlines, extruded them in Z direction, then having them inset multiple times. Afterwards use those meshes as "cutting objects" to my overlay object.
To produce those cutting objects I first thought about using Solidify modifier multiple times (it offers an option called "Fill Rim" which I thought deactivating would be a good idea), but in the end I preferred using the similar function in Edit mode (Mesh / Faces / Solidify). Reason was that this function fills rims indeed, but by default selects the newly created geometry which afterwards could easily be separated by hotkey "P". Then inner verts had to be deleted (select one, "Select similar / Amount of adjacent faces").
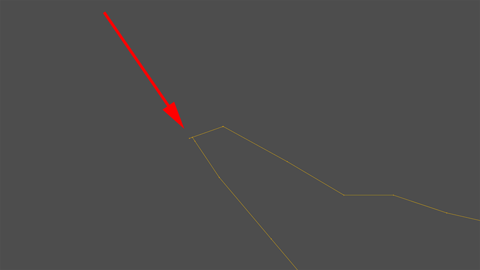
I was quite hopeful to avoid artifacts this way, but of course I didn't.
Thinking this over it might be logical: the issue producing the artifact hadn't been removed...
Result would be a system of separate "cutting meshes" which could one by one be joined to the overlay object, then use "Mesh / Faces / Intersect (Knife)":
Before joining it might be a good idea to have all verts of the cutting mesh selected by at the same time having all verts of the overlay mesh deselected - prevents you from selecting them one by one manually ;-)
One point should be mentioned: opposite to Boolean operations this function doesn't remove data but produces new one, so removing doubles afterwards is highly recommended.
And of course the "cutting elements" have to be deleted afterwards (having them extremely scaled in Z direction before joining will help to easily border select them without accidentally hitting some wanted verts ;-).
Next step as well being highly recommended: cleaning up mesh.
I presumed that the intersecting operation won't work in all cases - it'll produce some edges not being connected to the face below. To fix those issues I simply added an isolated edge, selected similar (Amount of faces around an edge), stored these issues as a vertex group and fixed them one by one.
Now these clean cuts could as well be stored as vertex groups - starting with the outline (again: Amount of faces around an edge), increasing selection (Ctrl + Numpad "+"), deselecting last vertex group - now each of those inner lines could be selected with only one mouse click.
Pardon me for being a little detailled here. The operation itself is basic knowledge; main challenge seems to be avoiding as much manual work as possible. I guess this is worth thinking over every single step of the operatioon two or even three times.
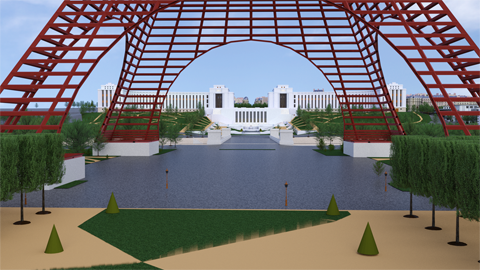
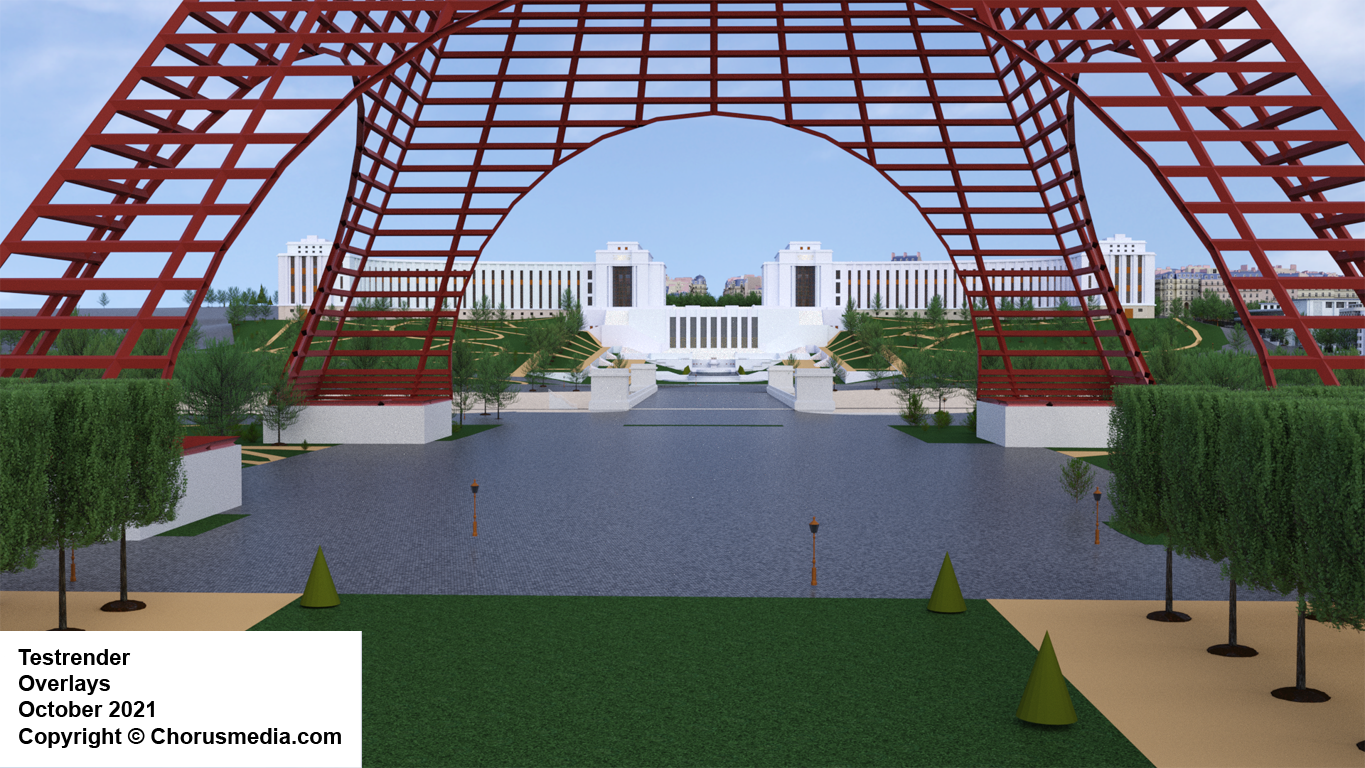
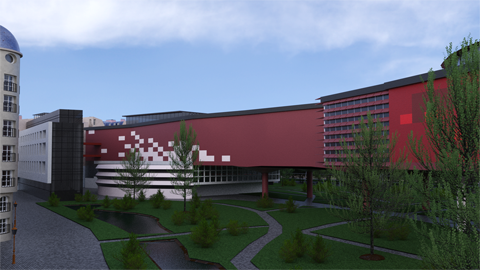
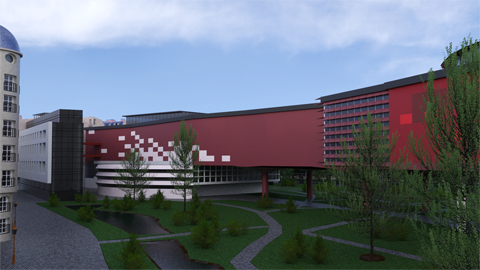
Now have a look at the result. It's very subtle of course (I lifted each ring about 0.03, didn't want to produce "hills" ;-), so you might toggle between the "Before" and "After" versions.
I'm quite content anyway - results haven't to be clearly visible to be noticed. At least it gives me some different angled faces which would reflect the light in different ways...