Modelling
(By the way: I switched to Blender 3.4 meanwhile...)
Modelling the Tower turned out to be trial and error right from the beginning. Of course there are millions of ways to do it wrong, and I guess I hit them all.
My first idea was modelling bottom-up, creating one small element after the other following the drawings, put them together and see my Tower grow.
This turned out to be a quite stupid idea, because you can't be precise enough to get convincing results. You'll always have minimal deltas, but deltas tend to cumulate... and in the end nothing fits together.
And I had to learn that most of the elements - even the smallest parts of iron - stand in defined relationship to each other. From time to time I wasn't really convinced of certain elements I modelled, but after re-doing them over and over I thought: Shit about, let's keep it, maybe do the next elements better... but there was no chance doing so. It was precision modelling from the beginning...
Another problem was understanding the drawings, especially the dimensioning informations. Mr. Eiffel mainly worked with two angles: one following the real life declination, and the other having some flat projection (as seen from the front):
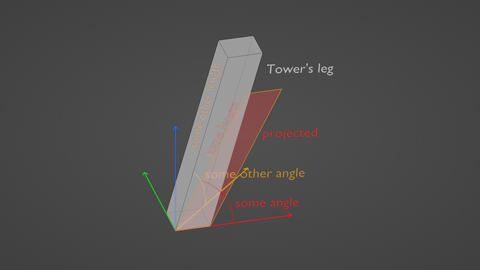

In most cases it wasn't really obvious to see which information had been used - so Mr. Pythagoras was quite busy ;-)
It's easy to understand: using the wrong measurement means the element will become too high. As a consequence the floors will be too small, and the upper parts will absolutely not fit together.
No doubt that I did this mistake even twice - first time using wrong measurement, and accidentually once more...
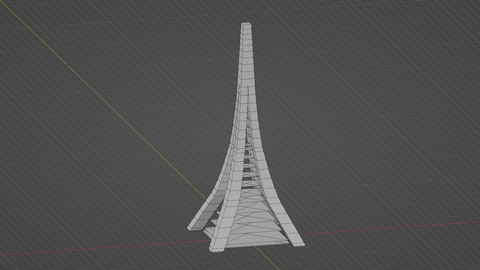
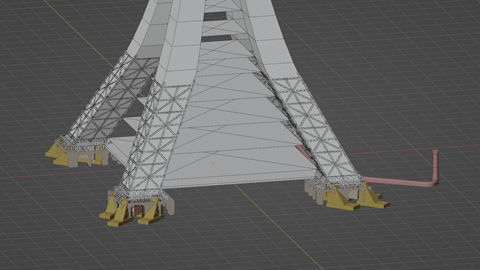
The right method turned out to be from general to detailled. Starting with a very rough "box model" - of course respecting all distance informations:

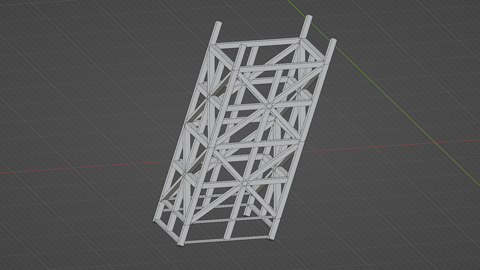
At least the lower part consists of repeating modules called "Panneaux" which obviously can be realized best by instancing collections.
Next was a basic model of some few panneaux (the pic shows two of them in line plus one unique at the bottom):
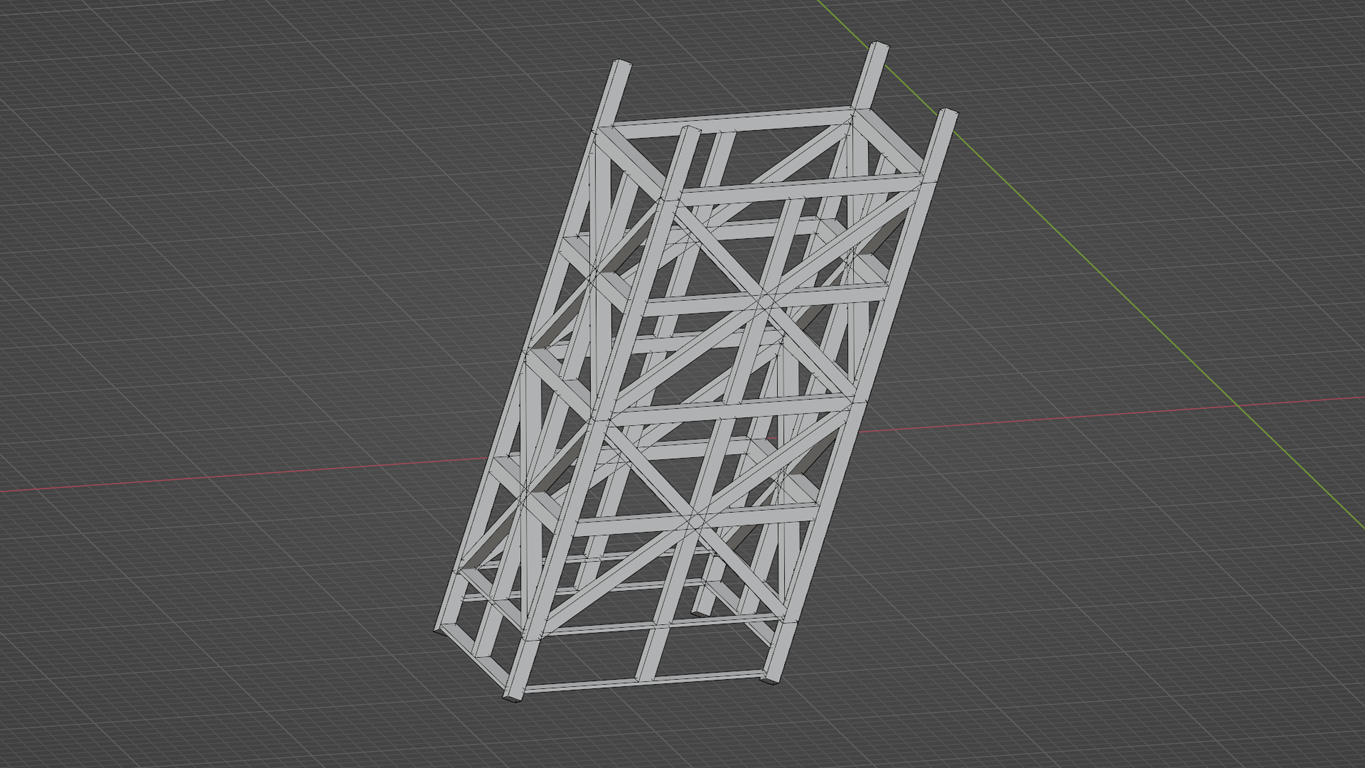
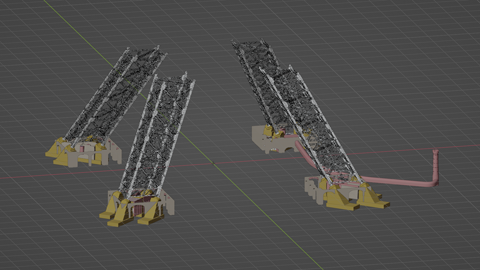
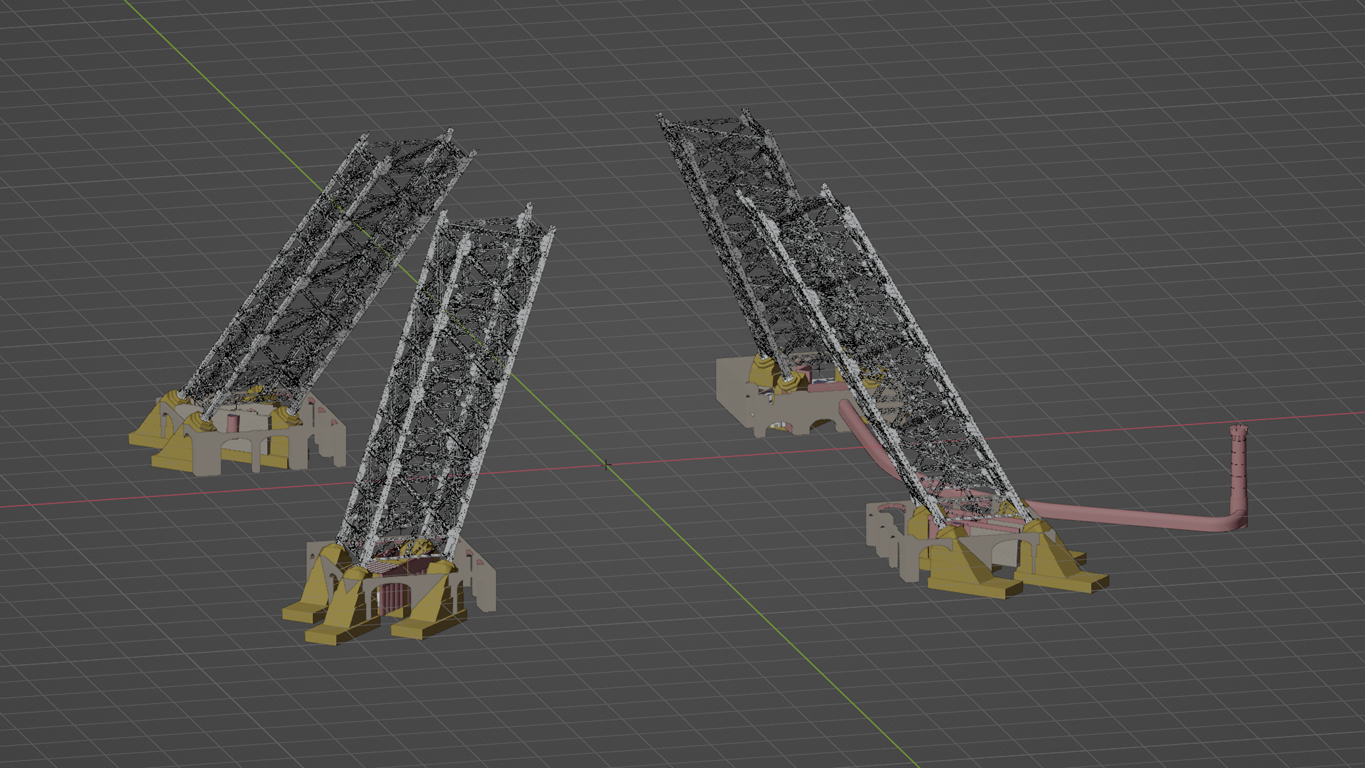
... and then finally create the detailled model (panneaux 0 and 1):
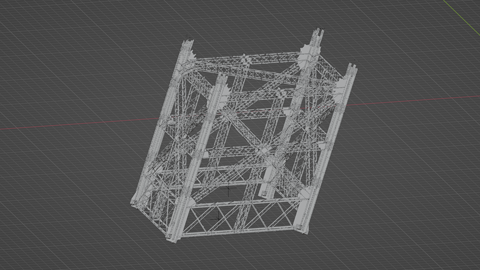
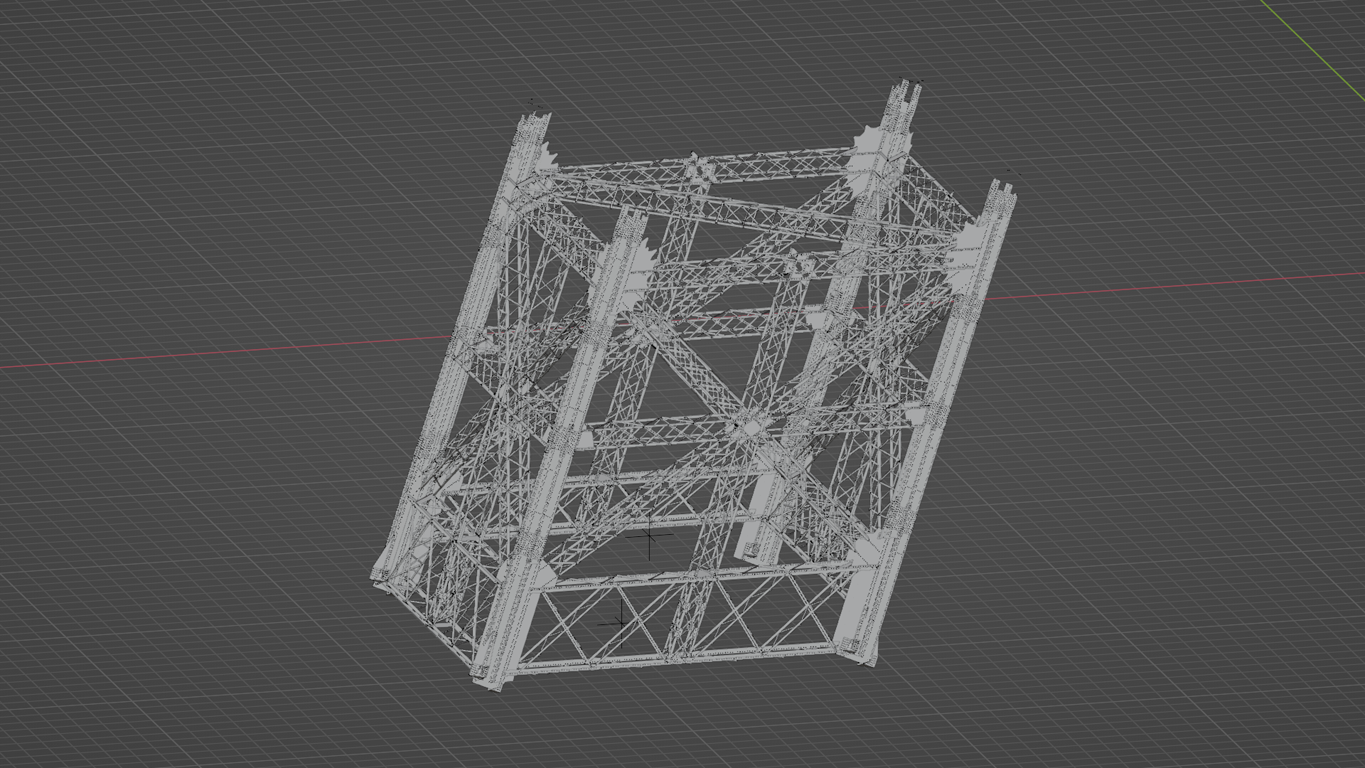
Placing the modules and adding some substructure gave me some really impressive result:
... which fits perfectly to the before created basic model:

I found it quite interesting to learn that the Tower has a chimney. Don't ask me what it's good for - did they use steam power in the former times? But the drawings gave me no hints to the necessary infrastructure like boilers, water tanks a.s.o...
Rivets
First it seemed to be a good idea to use Array modifier for the millions of rivets. But after thinking this over I had a better idea.
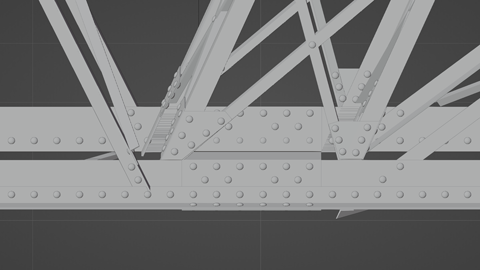
Arrays aren't the best choice to realize irregular structures like e.g. this:

So I used particles instead:
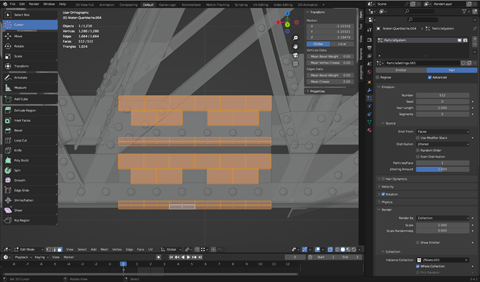

This turned out to be a good idea, because it's quite easy done.
And there's another great advantage: Using array modifier would have afforded one rivet for each array (which in the end could have been some thousand single rivets), but for all the particle systems I need one single rivet.
Anyway I had to learn that particle systems only work with tris or quads, so it's necessary to check for n-gons.
Let's have a look at the construction process next.